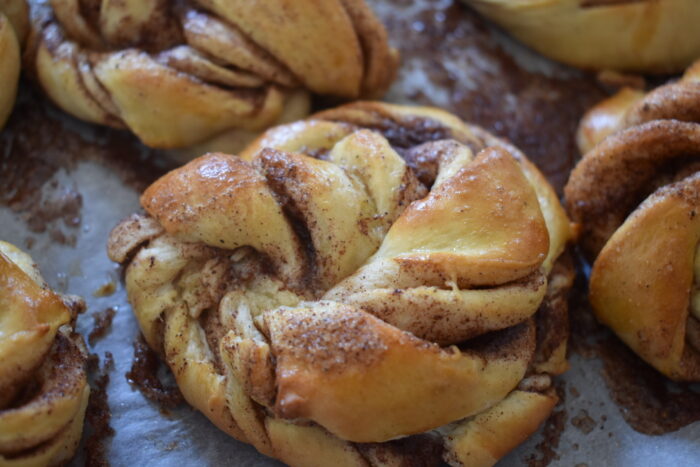
Oh joy, I have just found a fully written up post from a few years ago about how to make authentic Swedish Cinnamon Buns. and need to share it with you now! I think I wrote it originally for my excellent friend Erin, who has a fabulous travel website called Oregongirlaroundtheworld
Click on the above link to read all about the history of cinnamon buns and where to buy the best ones if you are in Sweden. If you make to Copenhagen try Juno The Bakery!
Confession
I confess I have not tried to make these buns recently. I need to add them to my to ever expanding to do list. However, these are the real thing. Similar to the to ones you can bake up from a can and also a million miles away from them in taste and texture.
As winter is coming, may I suggest these as a good rainy/snowy day project. Love to see the results so tag me on Facebook or instagram. Good Luck!
Original Post!
One of the first things I planned to do when I arrived in Denmark was to learn how to make Danish breads and pastries. Sadly, once I got here, I discovered that most of the classes were in Danish, and the odd English one seemed to always fall on a date when I was out of the country. Despite four months of intensive Danish classes, I realized it would be a long time before my linguistic skills were good enough to understand the finer points of a yeast based cooking class.
Meyer Madhus
Luckily for me, one of my Danish friends, Anette (founder of the excellent Spousecare), signed up for a class at Meyers Madhus. That would be the cooking school run by Claus Meyers of NOMA fame. The baking side of the world famous partnership. Not that he ran the class. Obviously. He is far too busy running his empire, which now extends as far as NYC with his Great Northern Food Hall, Danish Bakery and Upscale danish restaurant AGEM (sadly closed at the moment).
Cooking with yeast
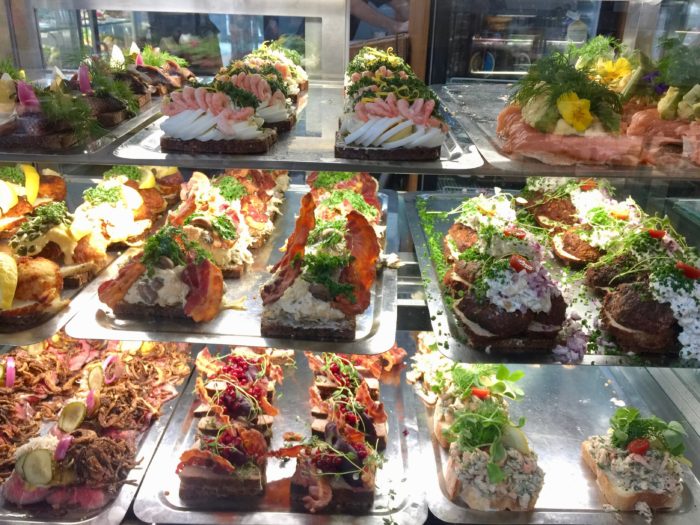
Anette could already make Danish bread,. Seems most households in Denmark consider baking with yeast a basic skill. However, she wanted to learn how to make Rugbrøg, the dense bread used for the Danish open faced sandwiches ‘smørrebrød’. Pictured below, this is the sort of things Danes eat for lunch! For more on Danish food, see my post Copenhagen Food Scene
Authentic Swedish Cinnamon Buns
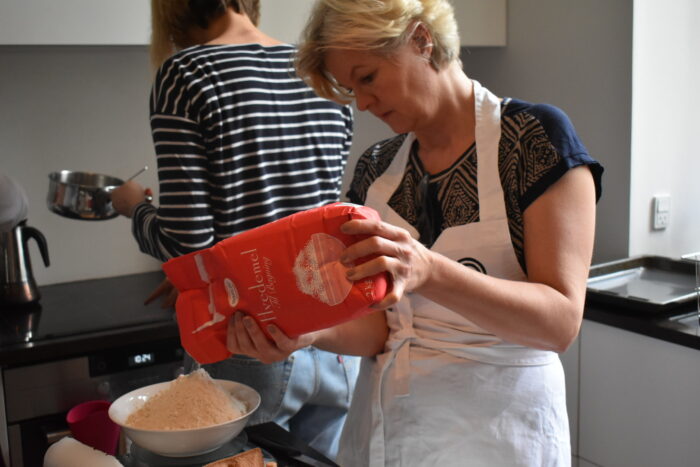
Part of the Meyers class was a lesson on Swedish Cinnamon Buns, a sweet dough flavored with cardamon and then twirled into a snail. After much begging, she agreed to run a small workshop to show a few of us how to make these Swedish treats.
Making the dough was seen, by Annette, as the easy part, and somewhat dismissed as routine. There was an element of not understanding how hard working with yeast is for some of us mere mortals.
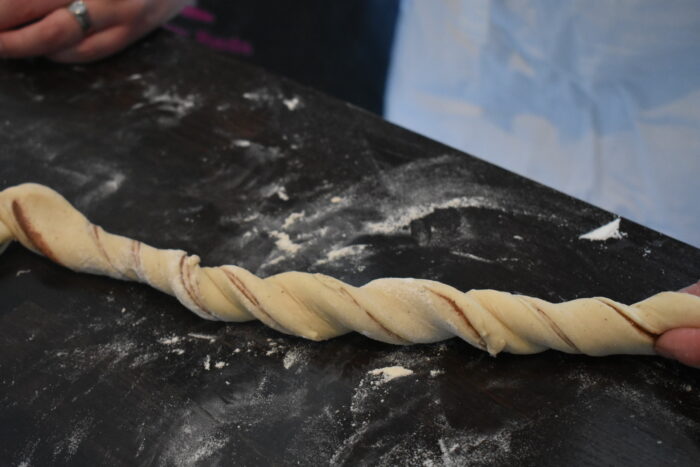
However, the hard part of cinnamon buns is in the twisting, involving some serious twirling and sleight of hand. On the day, we made some pretty impressive buns, but, alone in my kitchen, I confess to finding it not that easy!
Cardamon
I have always been a little hesitant about cardamon, but it is an essential part of Swedish cinnamon buns. You may reduce the amount, I did ever so slightly, as I find the spice can be overpowering.
Postscript…I managed to produce some good buns, but messed up slightly on cutting the strips so had to do some dodgy patching. Tasted great anyway!
Thanks Annette for sharing the recipe and technique, a fun day and a fond memory of my time in Copenhagen!
Meyers Madhus Cinnamon Swirls
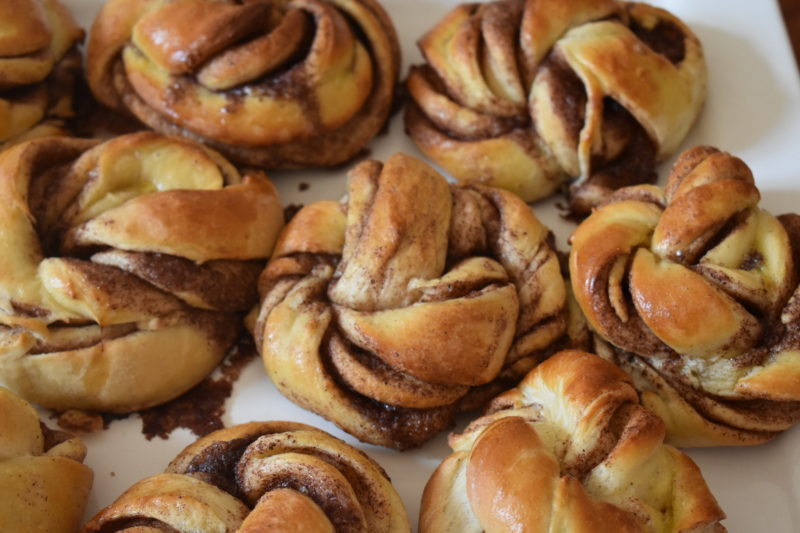
Swedish Cinnamon Buns are made with an enriched yeast dough flavored with cardamon, filled with butter and cinnamon.
Ingredients
- For the Dough
- 250g full fat milk
- 25g fresh yeast
- 1 egg
- 500g all purpose flour
- 75g sugar
- 7g salt
- 7g cardamom
- 75g butter
- The filling
- 125g soft butter
- 125g sugar
- 12g cinnamon
- an egg to wash and pearl sugar to finish
Directions
- Step 1 During step 1, the dough should be rapidly pulled together, with only the milk, 1/4 of the flour, the yeast, 1 tbsp of sugar to help yeast to activate, this takes 3 to 4 min. Let it rest for 20 min. Then add the remaining ingredients. Let the dough rest for 45 min.
This is the bakery method, and brings the bun to another level. Pour the cold milk into a bowl and stir the yeast into it. Add the flour, egg, sugar, salt and cardamom and leave to and knead the dough until it is smooth and starts to let go of the bowl. Around 7-8 minutes - Step 2 Finely dice the butter, add it to the dough and knead for another 7-8 minutes until the dough is quite smooth. Cover the dough and leave to prove for an hour in a warm place.
- Step 3 Punch out the dough and reshape, then leave to cool in the fridge for at least an hour in a plastic box. You could leave the dough overnight at this stage.
- Step 4 Mix the ingredients for the filling until they are a uniform mixture and a soft spreadable paste.
- Step 5 Flour a table and roll out the dough until you have one a square 30cm by 30 cm and approximately 5mm thick.
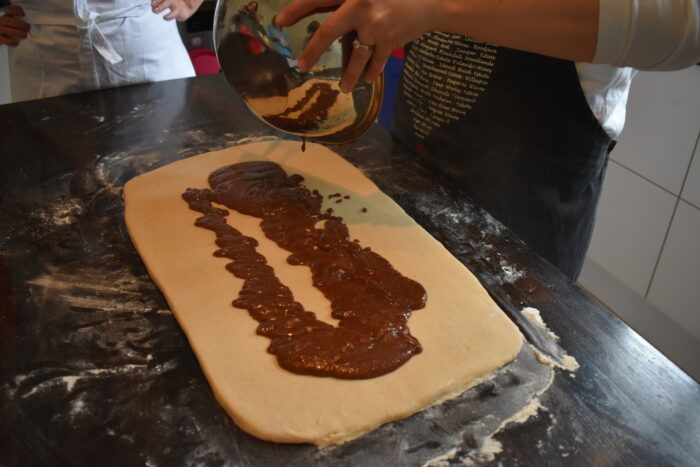
- Step 6 Spread the filling evenly out onto the dough.
- Step 7 Fold a third of the dough to the middle, then fold the other third over the first section. You should now have three layers.
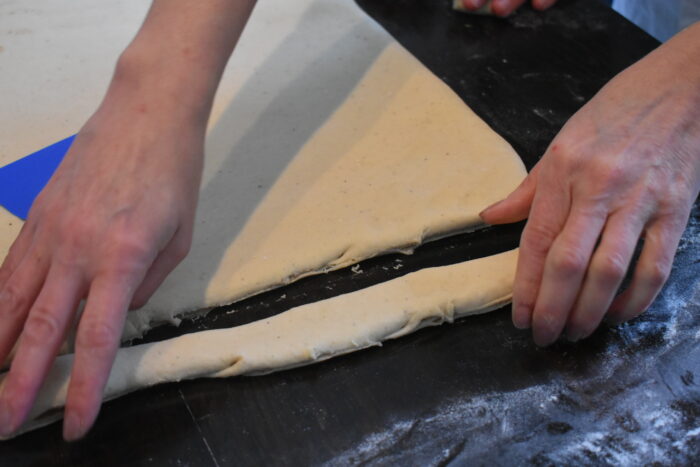
- Step 8 Roll out until 30 by 24 and cut into 12 2cm strips lengthwise.
- Step 9 Now for the tricky part!
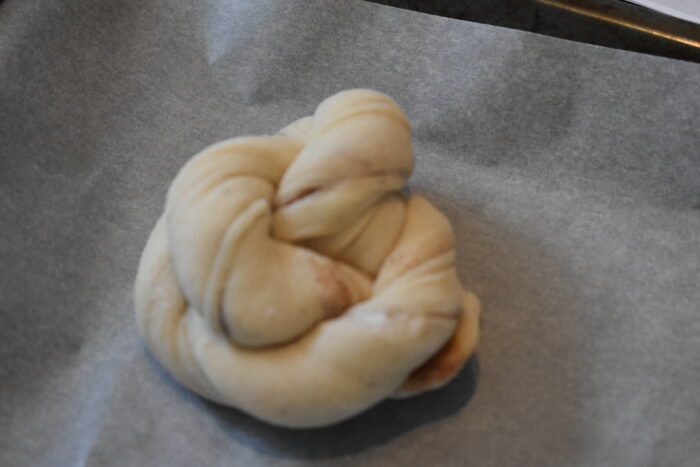
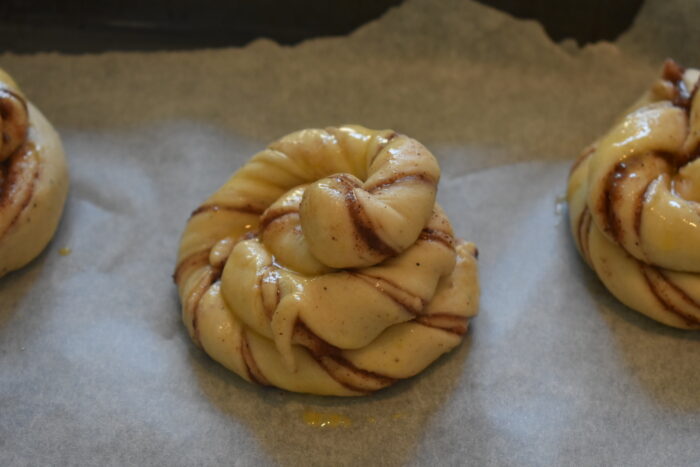
- Step 10 Curl each strip by rolling it forwards. Making sure not to squeeze out the filling, wrap the dough twice around your index finger and middle finger. Fold the end of the dough over the two folds and place it between your index and middle finger. Pull your fingers away, so the tip of the dough strip fits through the inside of the roll.
- Step 11 Place the swirls on a baking tray covered with parchment paper. Cover with a cloth and leave to rise in a warm place until they have doubled in size.
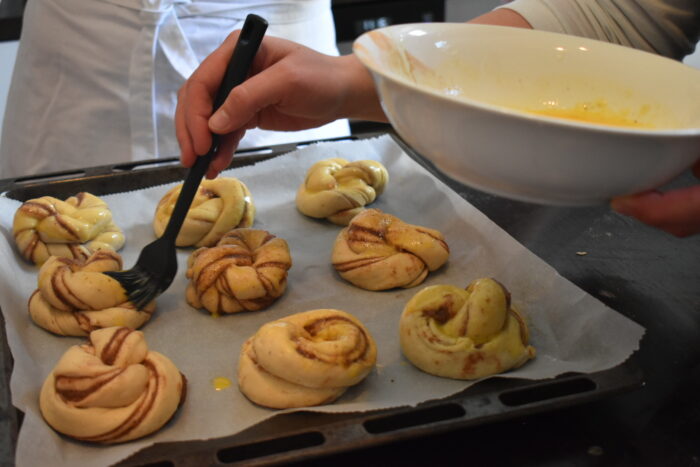
- Step 12 Brush with egg and sprinkle with pearl sugar if you have any to hand!
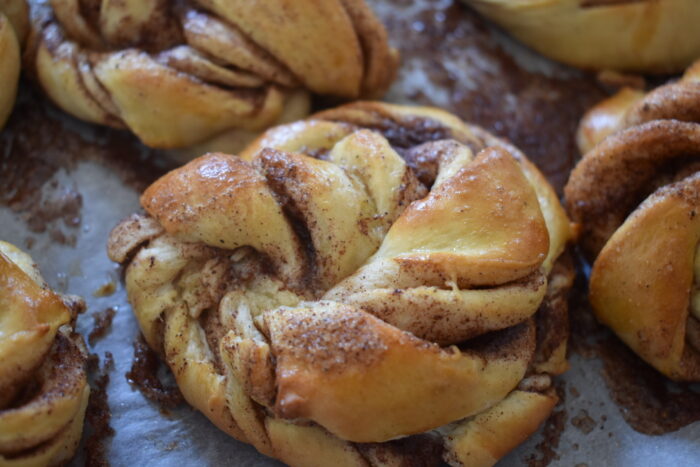
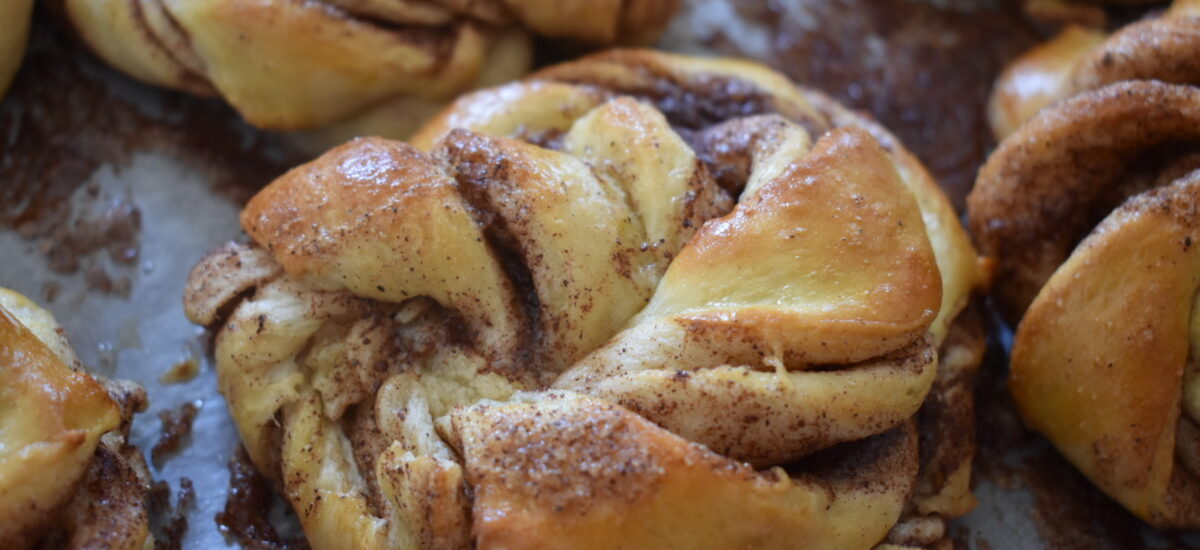
- Step 13 Bake at 185-190C for approx 10-12 minutes. Leave to cool on a wire rack.



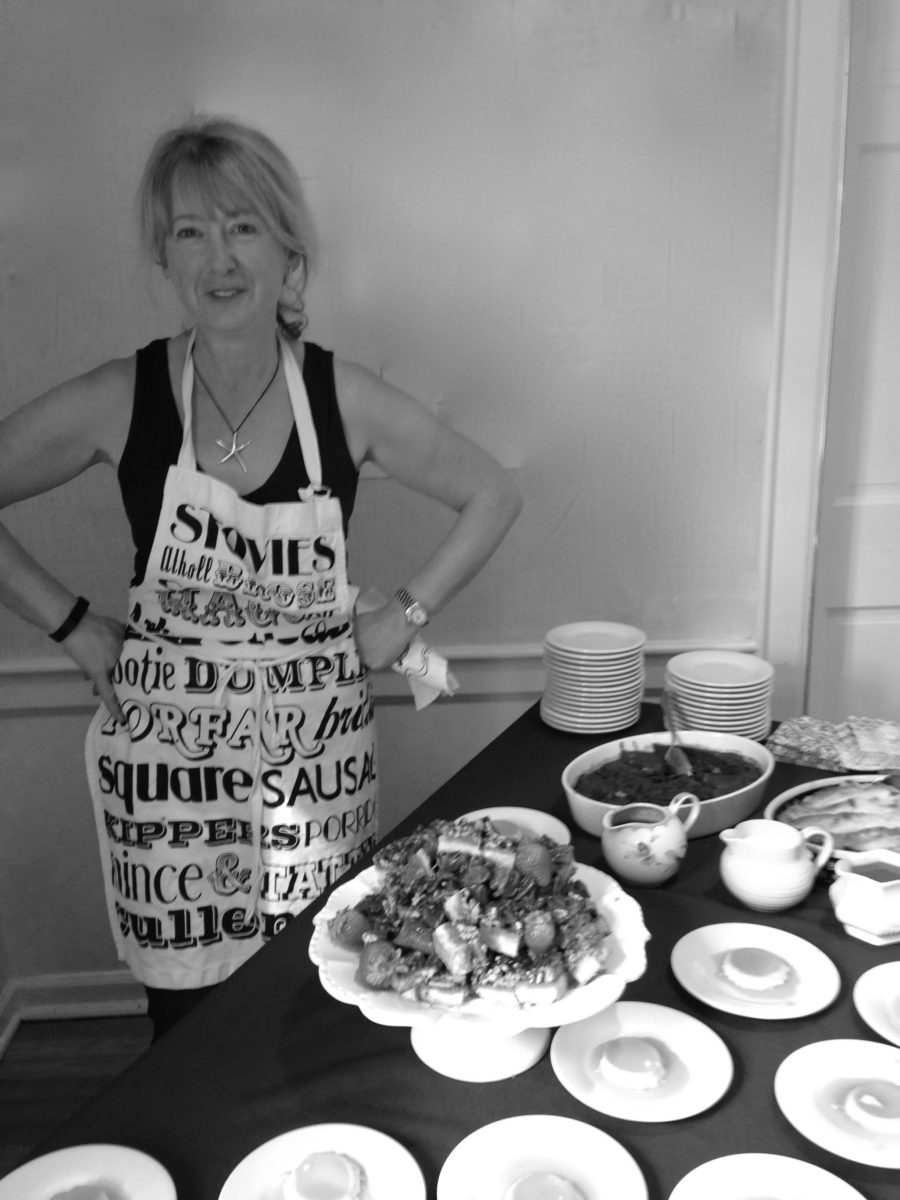 That's me in the corner


