Ever since Noma rocked the world with their new Nordic Cuisine and their obsession with locally sourced and foraged ingredients I have been desperate to go foraging and on Saturday I finally did it! With the help of the lovely Laurel, her son Sam, aka the hobbit, and her charming Danish neighbor Metta I spent a rather wonderful morning picking red currents, black currents and cherries in a park in Valby. Now technically speaking I am not sure it was really foraging as the bushes and trees where we found an amazing amount of fruit were not growing wild, rather had been planted in very convenient groups so we did not have to walk too far. There was also the added bonus that we could be sure the berries we were picking were suitable for eating; always a small frisson of excitement when really foraging as to whether those little darlings are edible or poisonous.
Foraging is such a way of life in Denmark that public spaces are landscaped to help those who live in the city to also enjoy the benefits of rural life. Claus Meyer, of Noma restaurant fame, even runs courses for interested beginners at Meyer’s Madhus in Copenhagen.
I also learned about a Danish piece of kitchen kit called a tutti fruity. Danes collect so much fruit they have a steamer that turns it into fruit juice, see picture below. I have not had the chance to try one out yet but if I can figure out how to transport it on the back of my bike I will let you know.
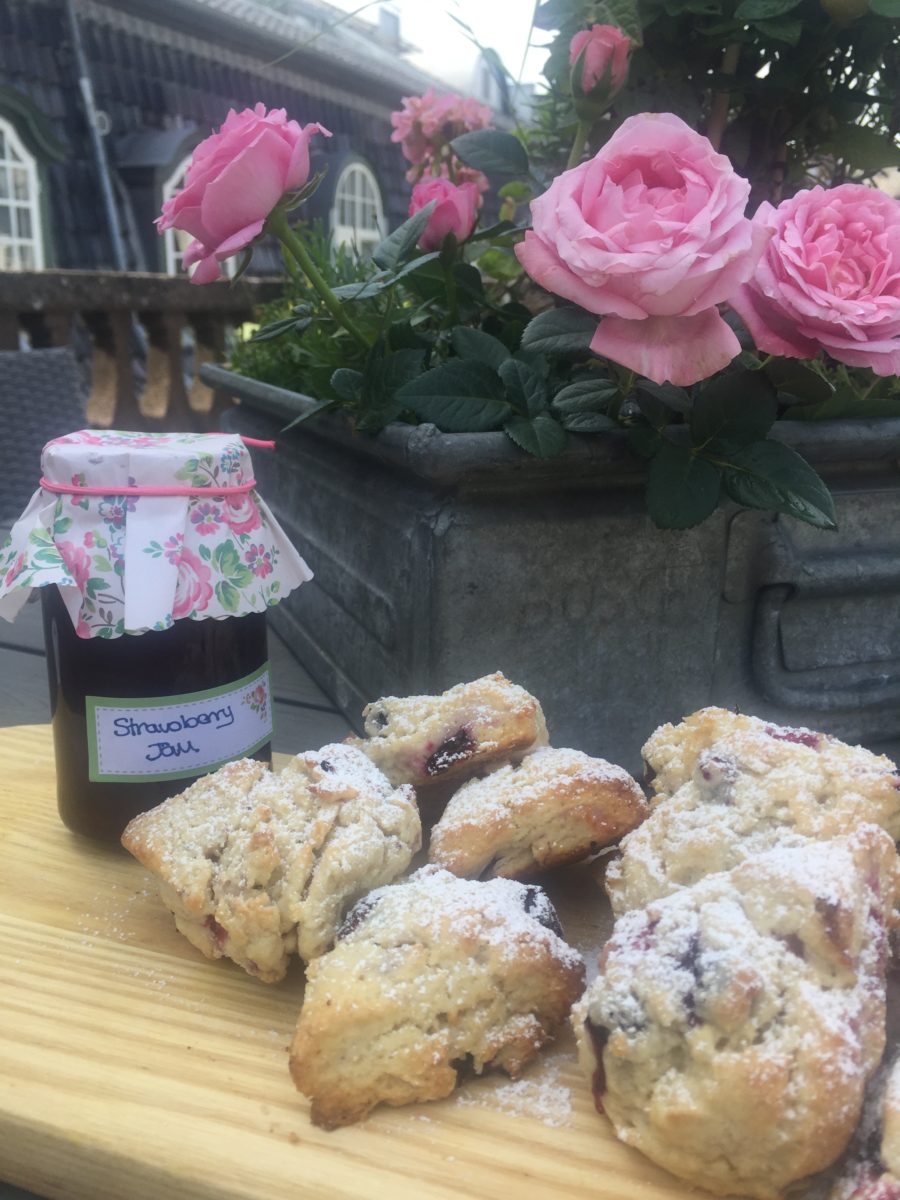
The recipes below are for my scones but with foraged black currents. They were really good and did not need any extra sugar. I am also adding the recipe for strawberry jam, or more correctly preserve. Make sure you sterilize all the jars thoroughly before you fill them, I run them through the dishwasher just before I use them. Unless you have a larder or somewhere cool to store it I would also suggest storing the preserve in the fridge.
A WORD ON MEASUREMENT
Click on the above link for my full observations on the perils of converting cups to ounces. This recipe works really well for cups. If you can find self raising flour then honestly any cup will do. I am going to say that in Denmark I am finding a cup of flour is somewhere between 4.8 and 5 ounces ie around 135 – 140 g. If using ounces add the smaller amount first ie just over 400 grams together with baking powder mixed in if using plain flour. If the mixture seems too wet and sticky add a little more flour/ too dry a little more cream. You know the drill.
Ingredients
Black Current Scones
- 3 cups flour and 4 1/2 teaspoons baking powder mixed together before adding the wet ingredients or 3 cups self raising and no baking powder In Denmark if I am using self raising flour I find I need to add a little 1/2 tsp baking powder.
- 1/3 cup sugar/ 21/2 ounces/ 65g or just add a little depending on how sweet your flavor is…bit more for tart blackcurrants, a bit less for strawberries
- 2 cups/ 16 uk fl ounces/480ml heavy cream
- 1 cup blackcurrents
- or Strawberries are delicious). Just be careful not to over mix or you will end up with a rather horrible looking scone.
Jam
- 4lbs of strawberries, not too ripe
- 3 lbs of sugar (with pectin if possible)
- Juice of two lemons
- pectin, if not in sugar, per manufacturers instructions
Instructions
Scones.
- Combine all dry ingredients. Add cream and fruit and stir until combined. I use a mixer but be careful not to over mix and end up with a purple mess.
- Tip onto a floured surface (I use some parchment paper as it makes it a doddle to clean up afterwards) and knead a few times. Divide dough into three.
- Pat each third into a round, 3/4 to 1″ thick. Cut each round into eight triangles
Place scones 1″ apart on ungreased baking sheet. Bake at 400 f /200C for 15-20 mins.
Remove and dust with powdered sugar. As with all scones best eaten quickly,
Jam
- Start the night before by hulling strawberries and wiping with a damp cloth.
- In a large bowl layer sugar with the strawberries, cover and leave overnight.
- Next day add strawberries to a large wide pan and melt any remaining sugar over a low heat.
- Meanwhile place three small plates into the freezer for testing the jam’s readiness later.
- When the jam is completely dissolved, add the lemon juice then quickly bring the mixture to a rolling boil for eight minutes. Be careful not to let it boil over!
- At the end of eight minutes, turn down the heat and test a small teaspoon of jam by dropping it onto the cold plate. If the jam crinkles it is ready. Mine never does at this stage, so reboil for a further one-two minutes and retest. Repeat until the jam reaches the required setting point.
- Leave to cool slightly before pouring or spooning the jam into the prepared jars. I use old clean sterilized glass jars.
- Cover with waxed disks, these can be made by cutting circles from cereal packaging, and finish with a pretty top and label. Mine are from Cath Kidson, an inspired gift from a friend who knows the sort of things that make me happy.


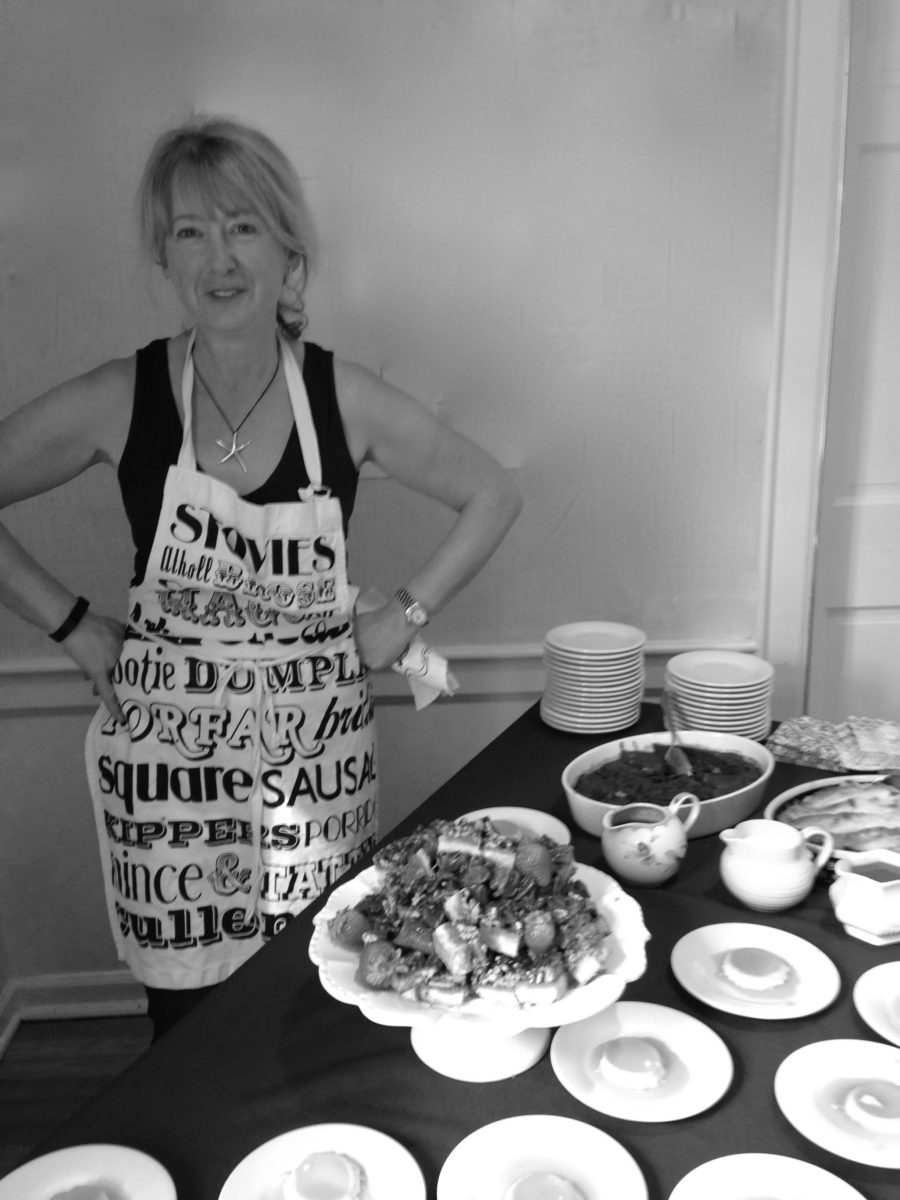
 That's me in the corner


